The last three posts were all about choosing the right digital camera for photographing food. Despite that, we all know that what you do with the equipment is the important part. Here, I present a pretty simple set of steps for making decent blogworthy photos from whatever camera you have. Some steps refer specifically to features of Adobe Photoshop Elements 6 for Windows (currently in version 7 for Windows and some other version for Mac), which I recommend highly. It’s not nearly as full-featured as the CS version, but it’s more than sufficient for our purposes, and it even has some convenient “auto” features not found in the professional product. I have both, but use Elements almost exclusively for my blog photos.
Here’s a sample photo of a succulent duck leg from J’s kitchen with turnip puree, potato threads, onion strings, wild rice crispies, broccoli rabe and a veal sauce. It’s fresh from the camera, unchanged except for resizing.
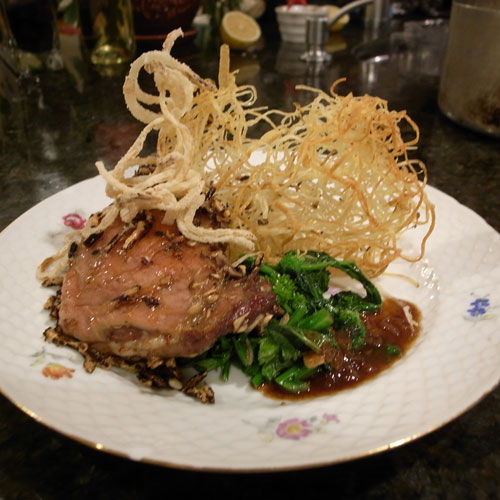
(A quick note on reszing: know how big in pixels you want your picture to be ahead of time, it’ll save you some hassle and grief.)
First thing I do is crop the photo. Sometimes it was perfectly composed in the camera, but not often. I’m a stickler for keeping the original aspect ratio, but that’s up to you. Here it is cropped in just a bit. This is also a good time to resize to your final desired dimensions.
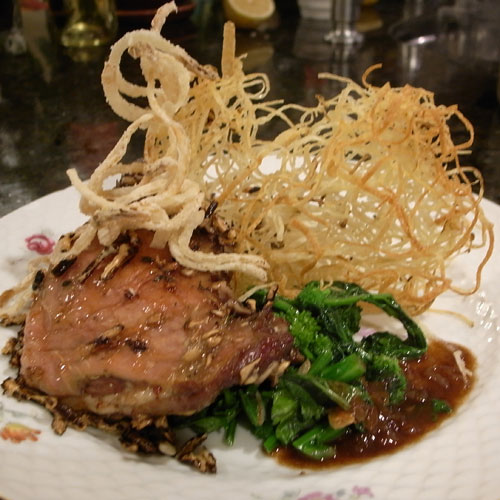
Next, basic color and contrast correction. If you really want to, you can adjust a lot of different things separately, but in Photoshop Elements, I usually just use “auto smart fix” which is sufficient in the majority of cases. I’ll talk another time about advanced color repair for those candle-lit shots.
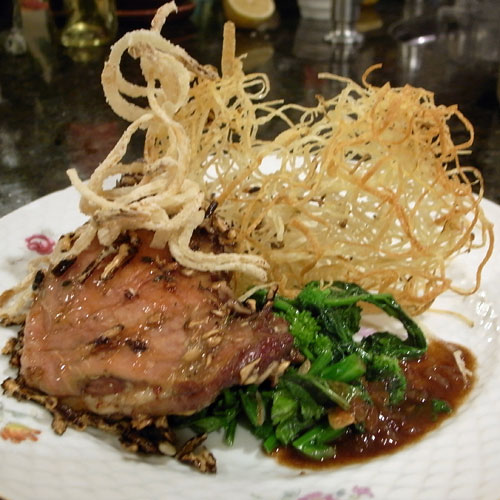
The change is subtle in this case, but you can see some change in the white of the plate and the green of the broccoli. The next step is a little vague, but here is where I touch up anything that still looks off. Sometimes this means using the clone stamp tool to eradicate a stray grain of rice. In this case, I used the burn tool to darken some of the distracting elements in the upper background, notably that lemon.
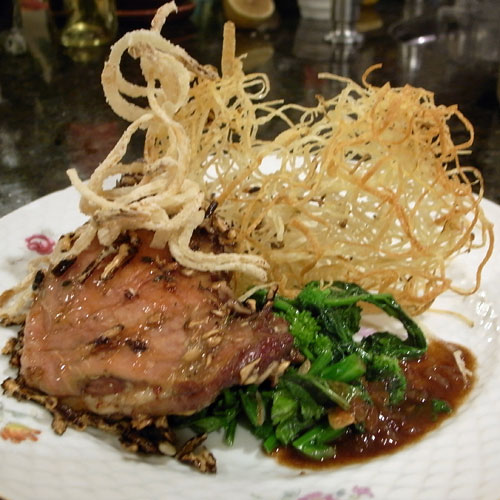
Almost there. The final step (and its important that this be the last step in most cases) is to use the Auto Sharpen function. Just to be clear, photoshop cannot actually sharpen a blurry photo, it’s just an approximation. But I use this even if the image is already sharp (which is rare with low-light hand-held pics) because it brings up the highlights in wet and juicy textures common in food. See for yourself.
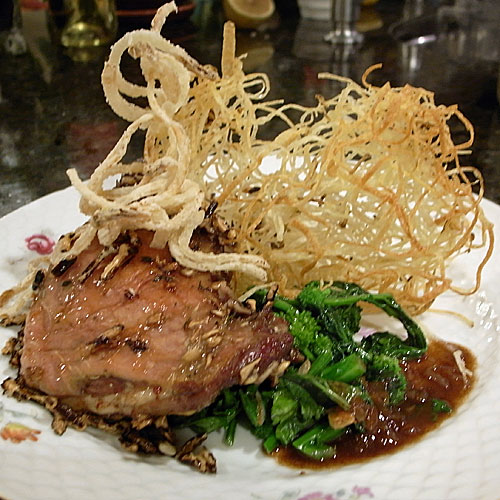
Got it? Don’t worry, I’ll review some of the tools at the end. Here are slices of the above photos for some side-by-side comparison. The final result isn’t far from the original, but you shouldn’t have to do a lot of post work just to get servicable blog photos.
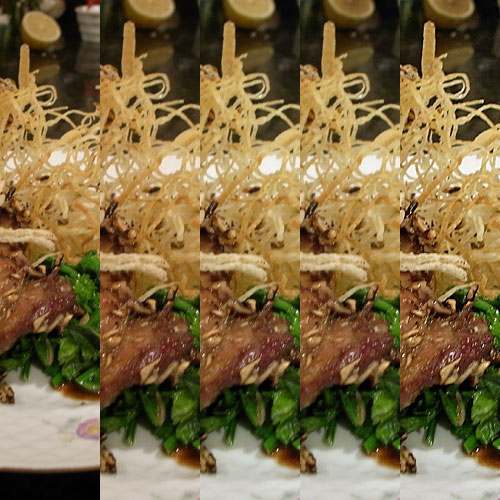
- Original photo
- Crop and resize
- Auto smart fix
- Touch ups
- Auto sharpen
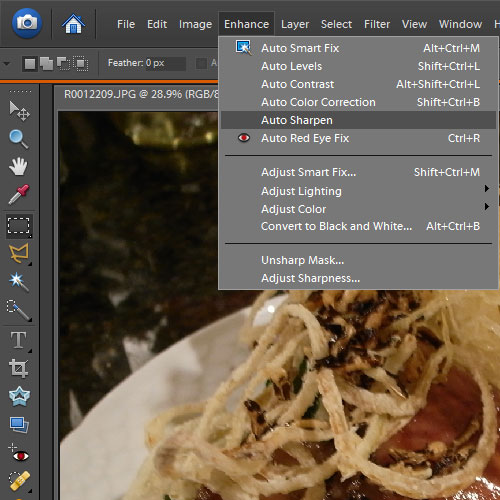
That doesn’t look to hard, does it? Here’s a screenshot showing the Enhance menu where most of the functions I refer to are located.
Good luck, and have fun with it!
